Closet Reveal: My Session with a KonMari Expert (and Tips on How to Minimize Your Closet!)
January 4, 2021
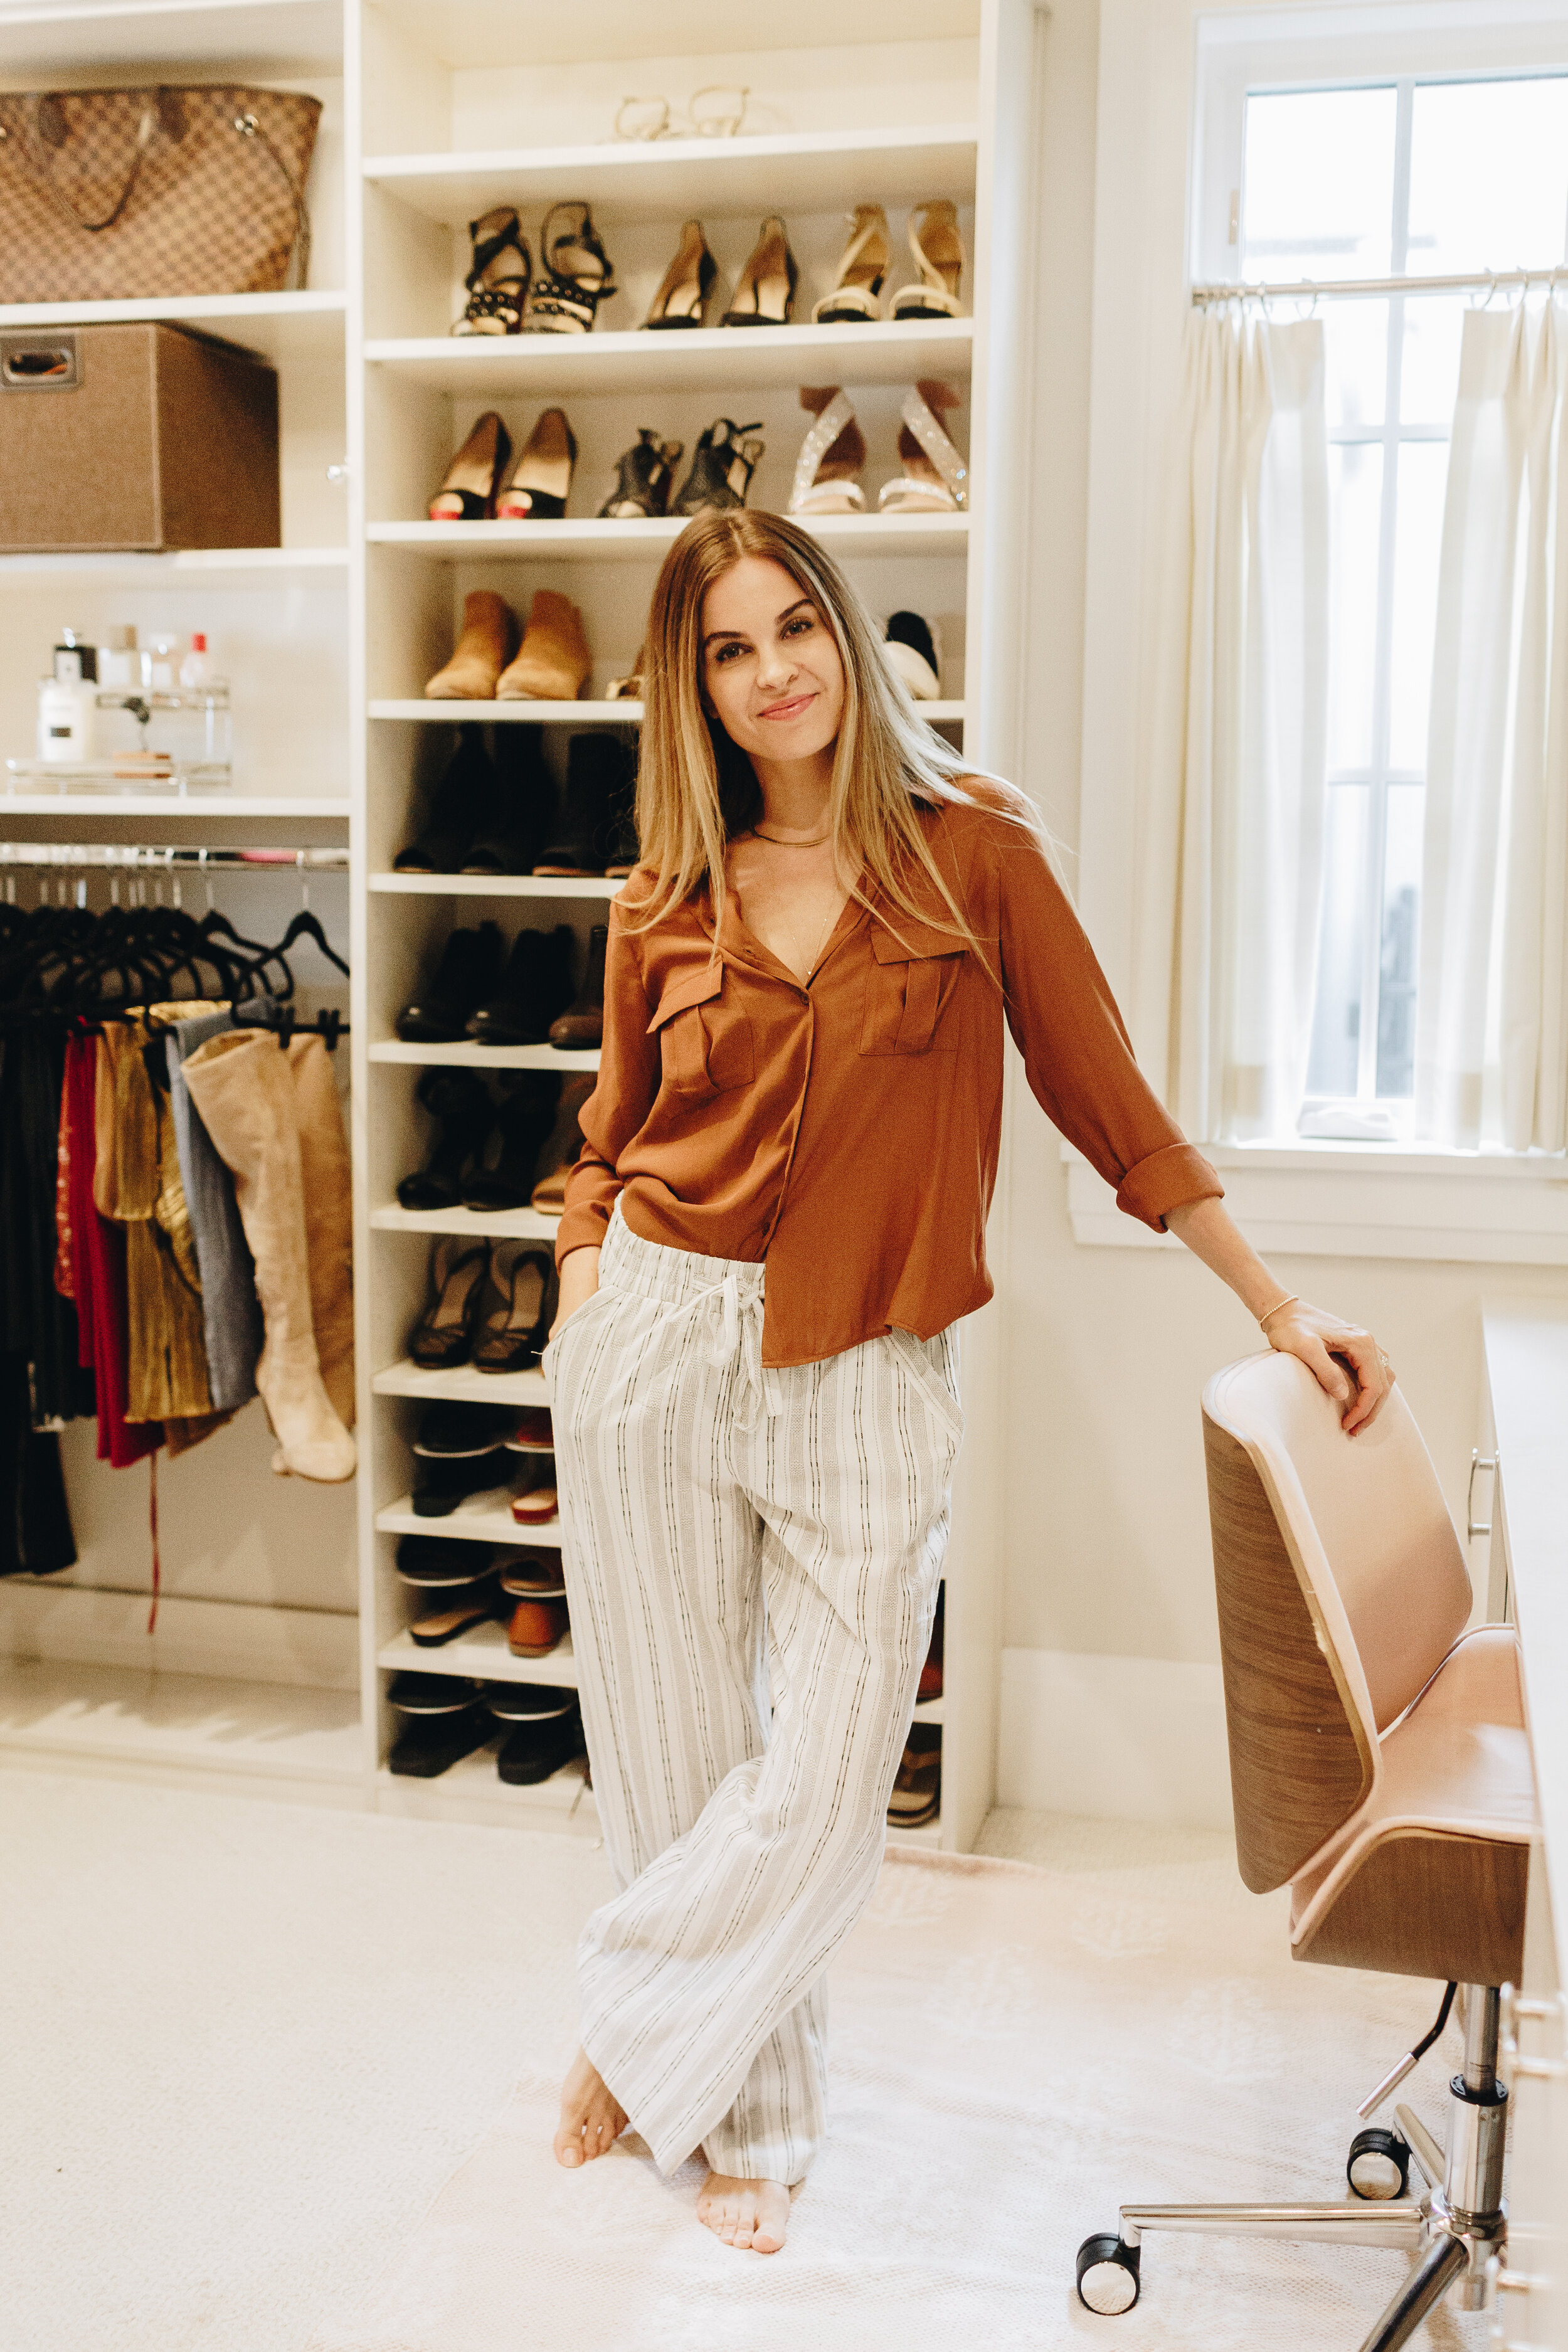
It’s been a couple months in the making, and I’m so excited to finally show you the After pictures of my session with Tomoka, a KonMari expert from A Tidy Transformation! I can’t wait to show you the results, and give you some tips that might spur your own minimizing session.
Orlando Area KonMari Expert Helps Me Pare Down my Closet Headed into the New Year
First things first: I can’t speak highly enough about this process, especially with Tomoka.
The idea with the KonMari Method is to let into your space only what you truly love, and use; and going through the elimination and re-organization process with an actual KonMari expert made the process that much easier and enjoyable.
I thought it would be best to break this behemoth process down into parts. In this post we’ll talk about clothes and the process of paring down; and in upcoming posts I’ll share details on specific spots in the closet, like the jewelry area, which I found needed separate attention.
And if you want to check out the tools we used to organize what was left, click below!

The KonMari Method Basics
Tomoka walked me through these in person (another benefit of working with a certified KonMari expert), but this article sums up the principles beautifully. Here they are:
-
Commit yourself to tidying up.
-
Imagine your ideal lifestyle.
-
Finish discarding first. Before getting rid of items, sincerely thank each item for serving its purpose.
-
Tidy by category, not location.
-
Follow the right order.
-
Ask yourself it it sparks joy.

The KonMari Method: How to Start
While I’ve done my own versions of the KonMari method in my closet before—see these posts from early last year—working with a certified expert made a huge difference.
Tomoka and I have been longtime friends, since our kids were in nursery school together, and when she decided to get certified in the KonMari Method and start her own company, she reached out so that we could work together and show people the magic of tidying up together. As a longtime fan of this method, I was so psyched!
So my first tip is this: Either buy the book; review the tenets online, or if you can, consult with a professional. You need to truly know the principles behind the method to get the most out of the process.
The goal here isn’t just a tidied closet (though that is wonderful!); it is to learn how to bring into, and keep, only what truly sparks joy in your life. And clothes are easier to start with than people, so let’s begin there. 😉
data-animation-override>
“The goal here isn’t just a tidied closet, though that is wonderful! The goal is to learn how to bring into, and keep, only what truly sparks joy in your life.”

What the KonMari Process Truly Feels Like
To be honest, this session was therapy-adjacent for me. Talking through all of the things I decided to keep, or not keep, with Tomoka—in real time, as we were cleaning—was so helpful. (See below for how she helped me to decide what to keep, what to donate, etc.)
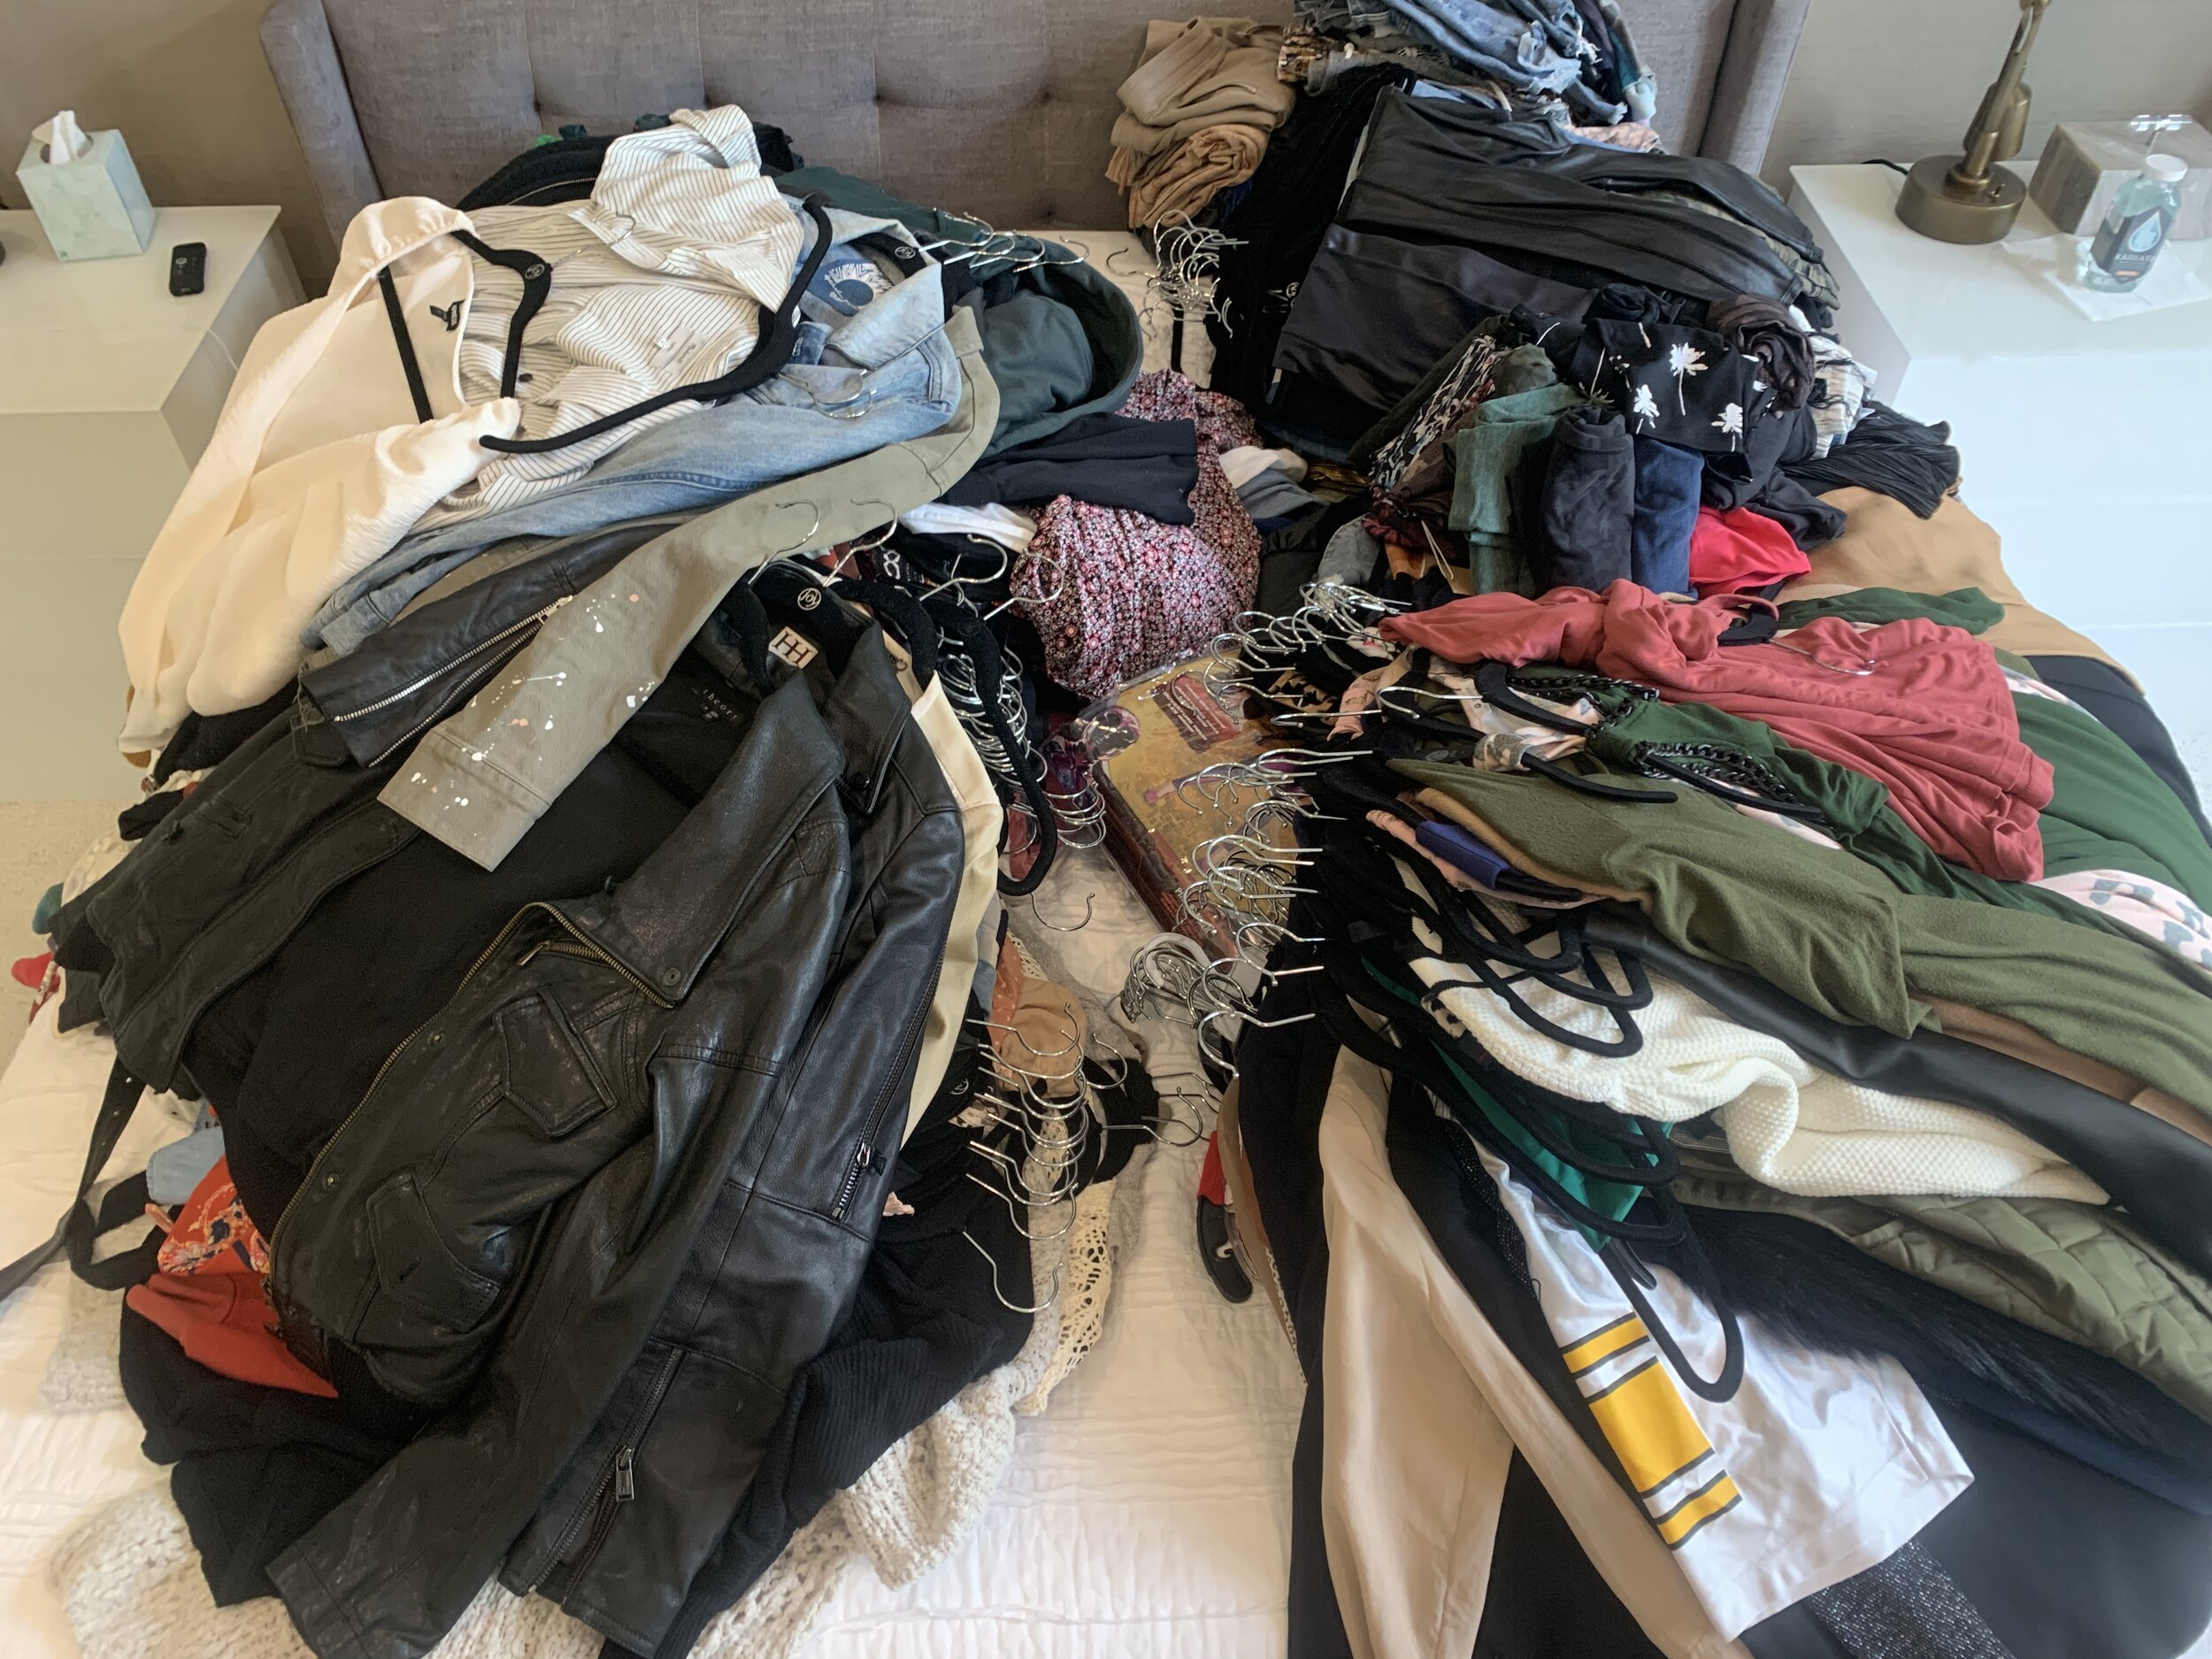
We took out every single clothing item from my closet, piled it onto my bed (holy crap, it was a mountain of clothing), and we went through it, one piece at a time, actually putting my hands on every item to decide if I would keep it.
I would hold it, really feel it, and ask myself if I truly loved, or felt I needed, the item. In every circumstance,
Now hear me out: This sounds hokey, but taking the time to go through that emotional part of the process it is the main thing that separates this process from regular organization methods, and allows us to truly, truly minimize.
Give yourself the time to go through every item in this way, and I promise, the decreased clutter in your wardrobe will be worth it!
The KonMari process created a true sense of peace for me—a cleansed feeling of knowing that I was left surrounded only by things I truly loved.
As a benefit, it’s easier to get dressed now too, because I only have left what I love and will actually wear.
What the KonMari Process Looks Like IRL
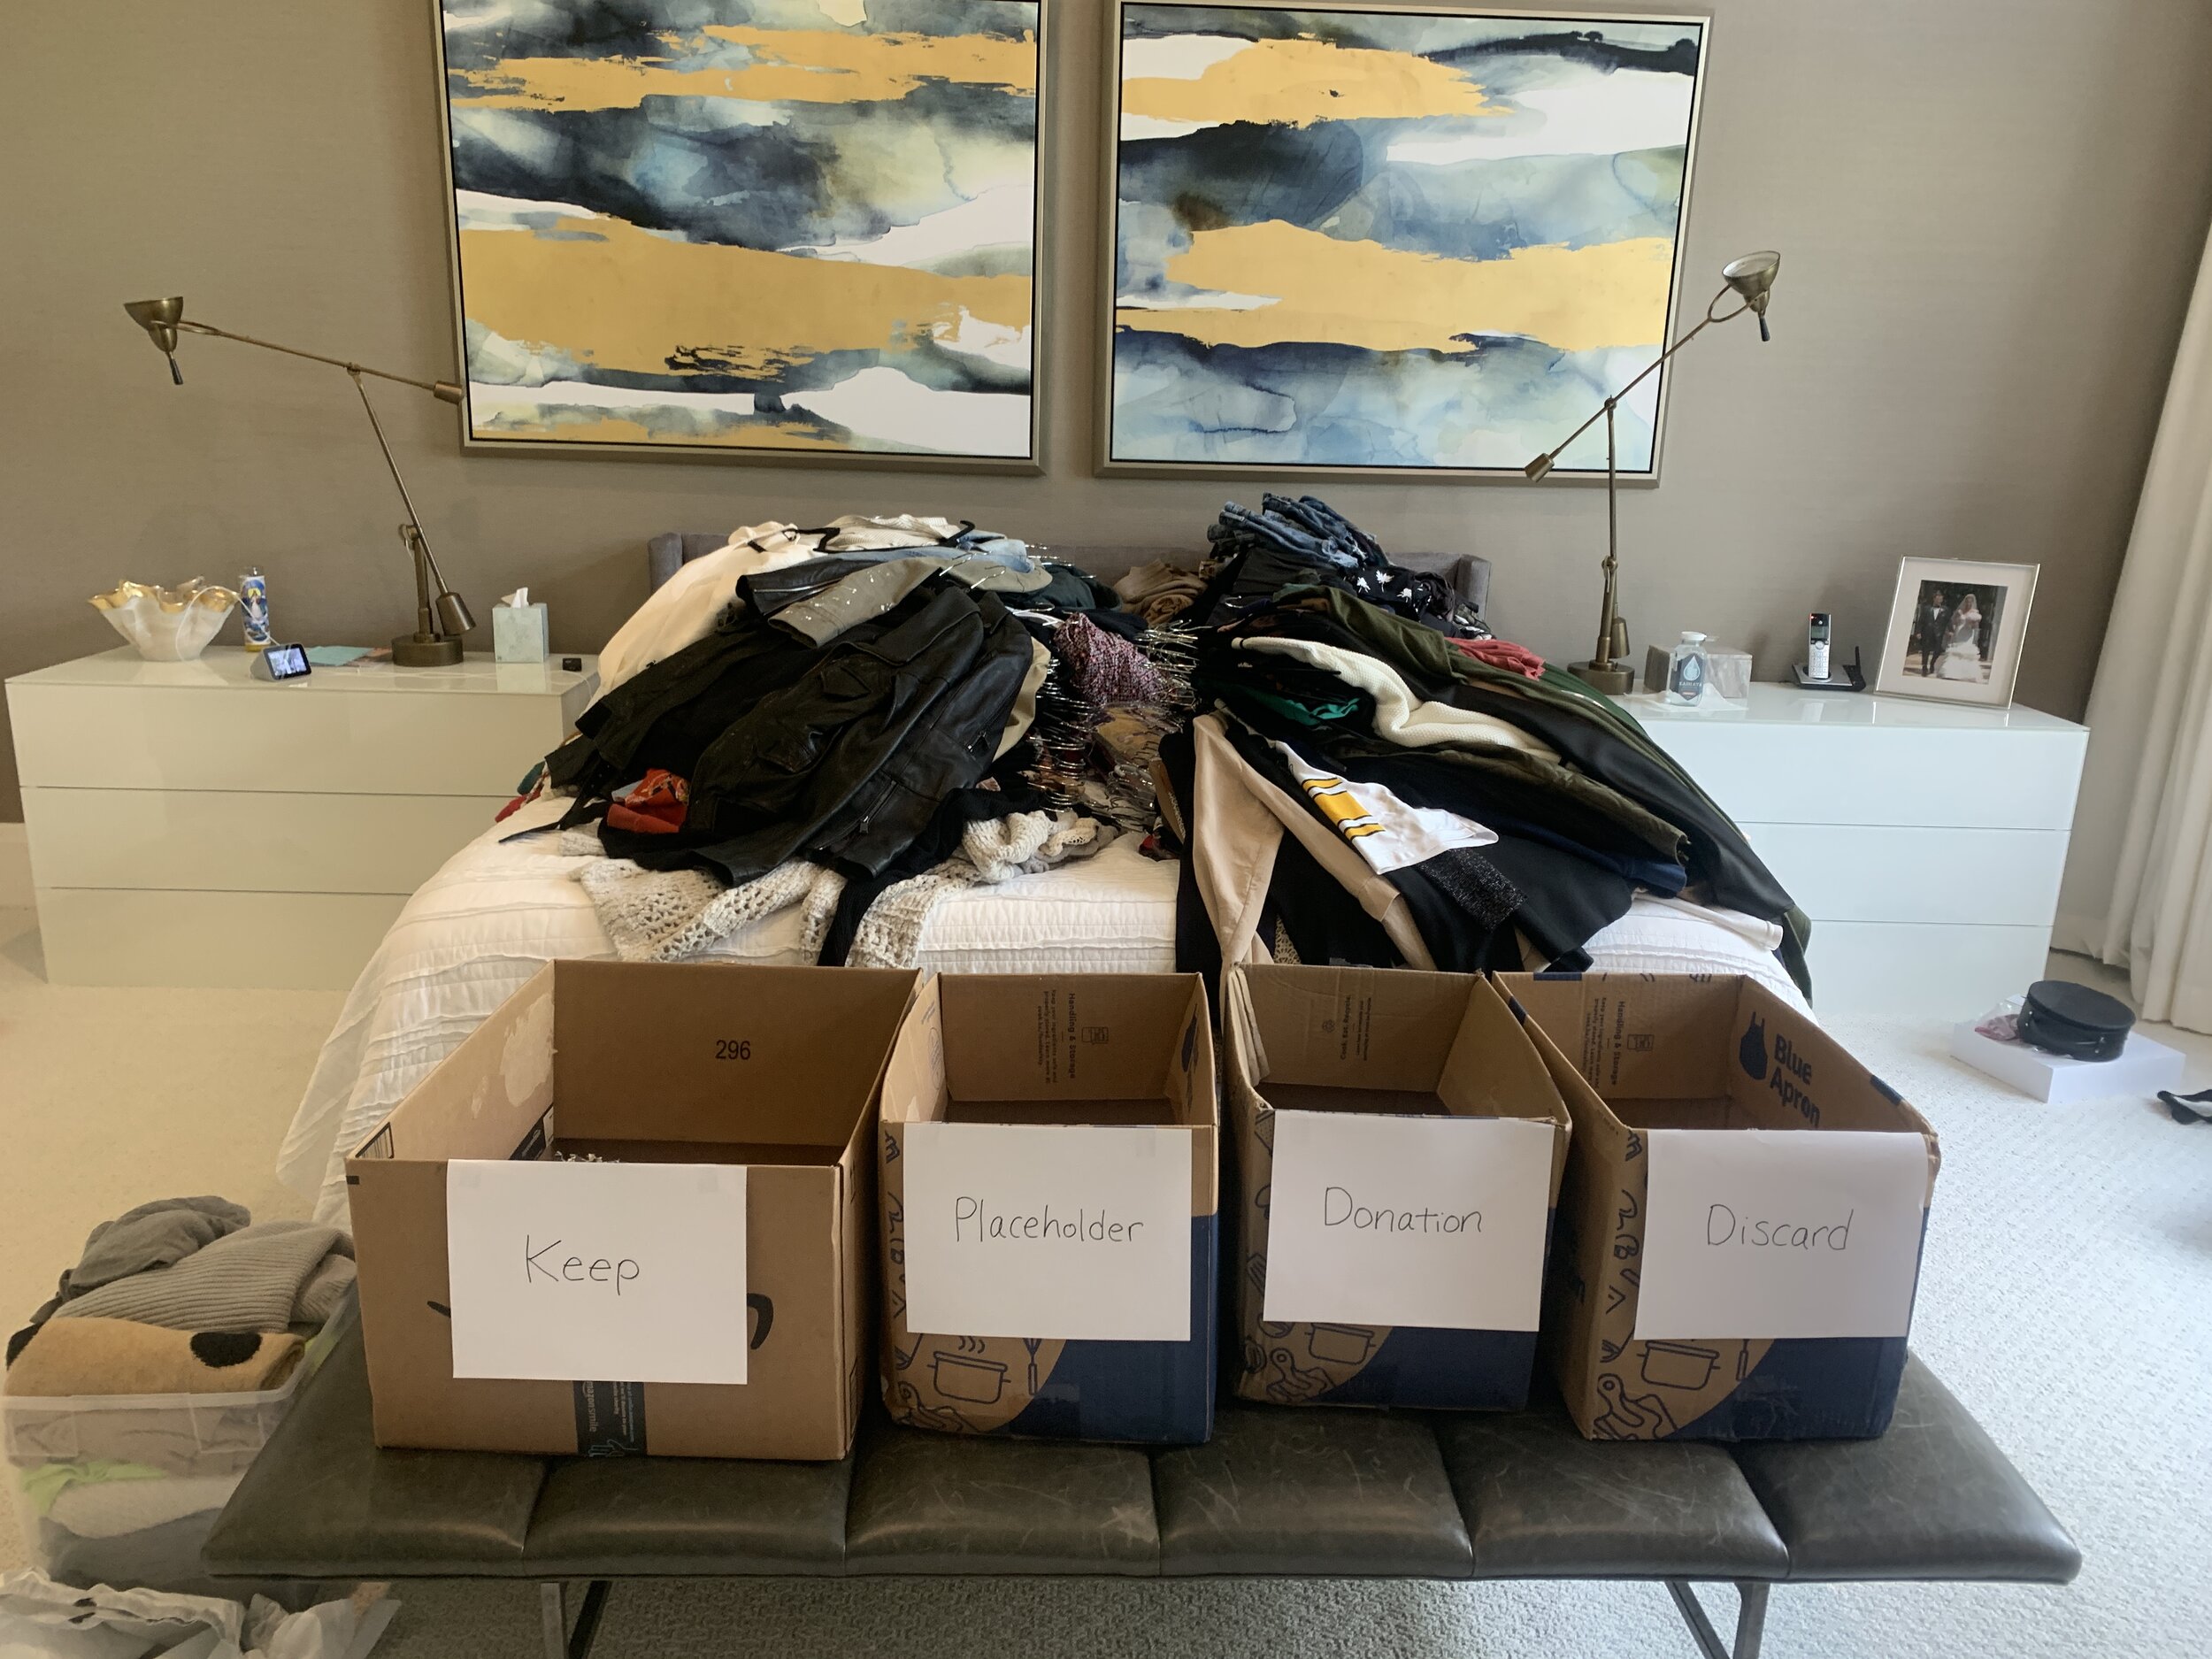
Before we started, Tomoka created four boxes:
-
Keep—items that would stay
-
Placeholder—a temporary holding spot for items I wasn’t sure what to do with
-
Donate
-
Discard—for damaged and unusable clothing
Having these “destinations” for the clothing helped me to see the progress I was making; and to be honest, every time I let go of something I no longer loved and put it in the Donation box, it felt like a little weight was lifted off my chest.

Tomoka is so fun to work with!
KonMari Method: What I Kept, and What I Donated
The above process helped me to purge four giant boxes of clothing from my closet that weren’t serving me anymore. Tomoka and I decided to donate them, and I also surprisingly found items with tags still on them, which I will return or donate as well.
The End Result of the KonMari Method in My Closet: Organized Peace!
Shoes
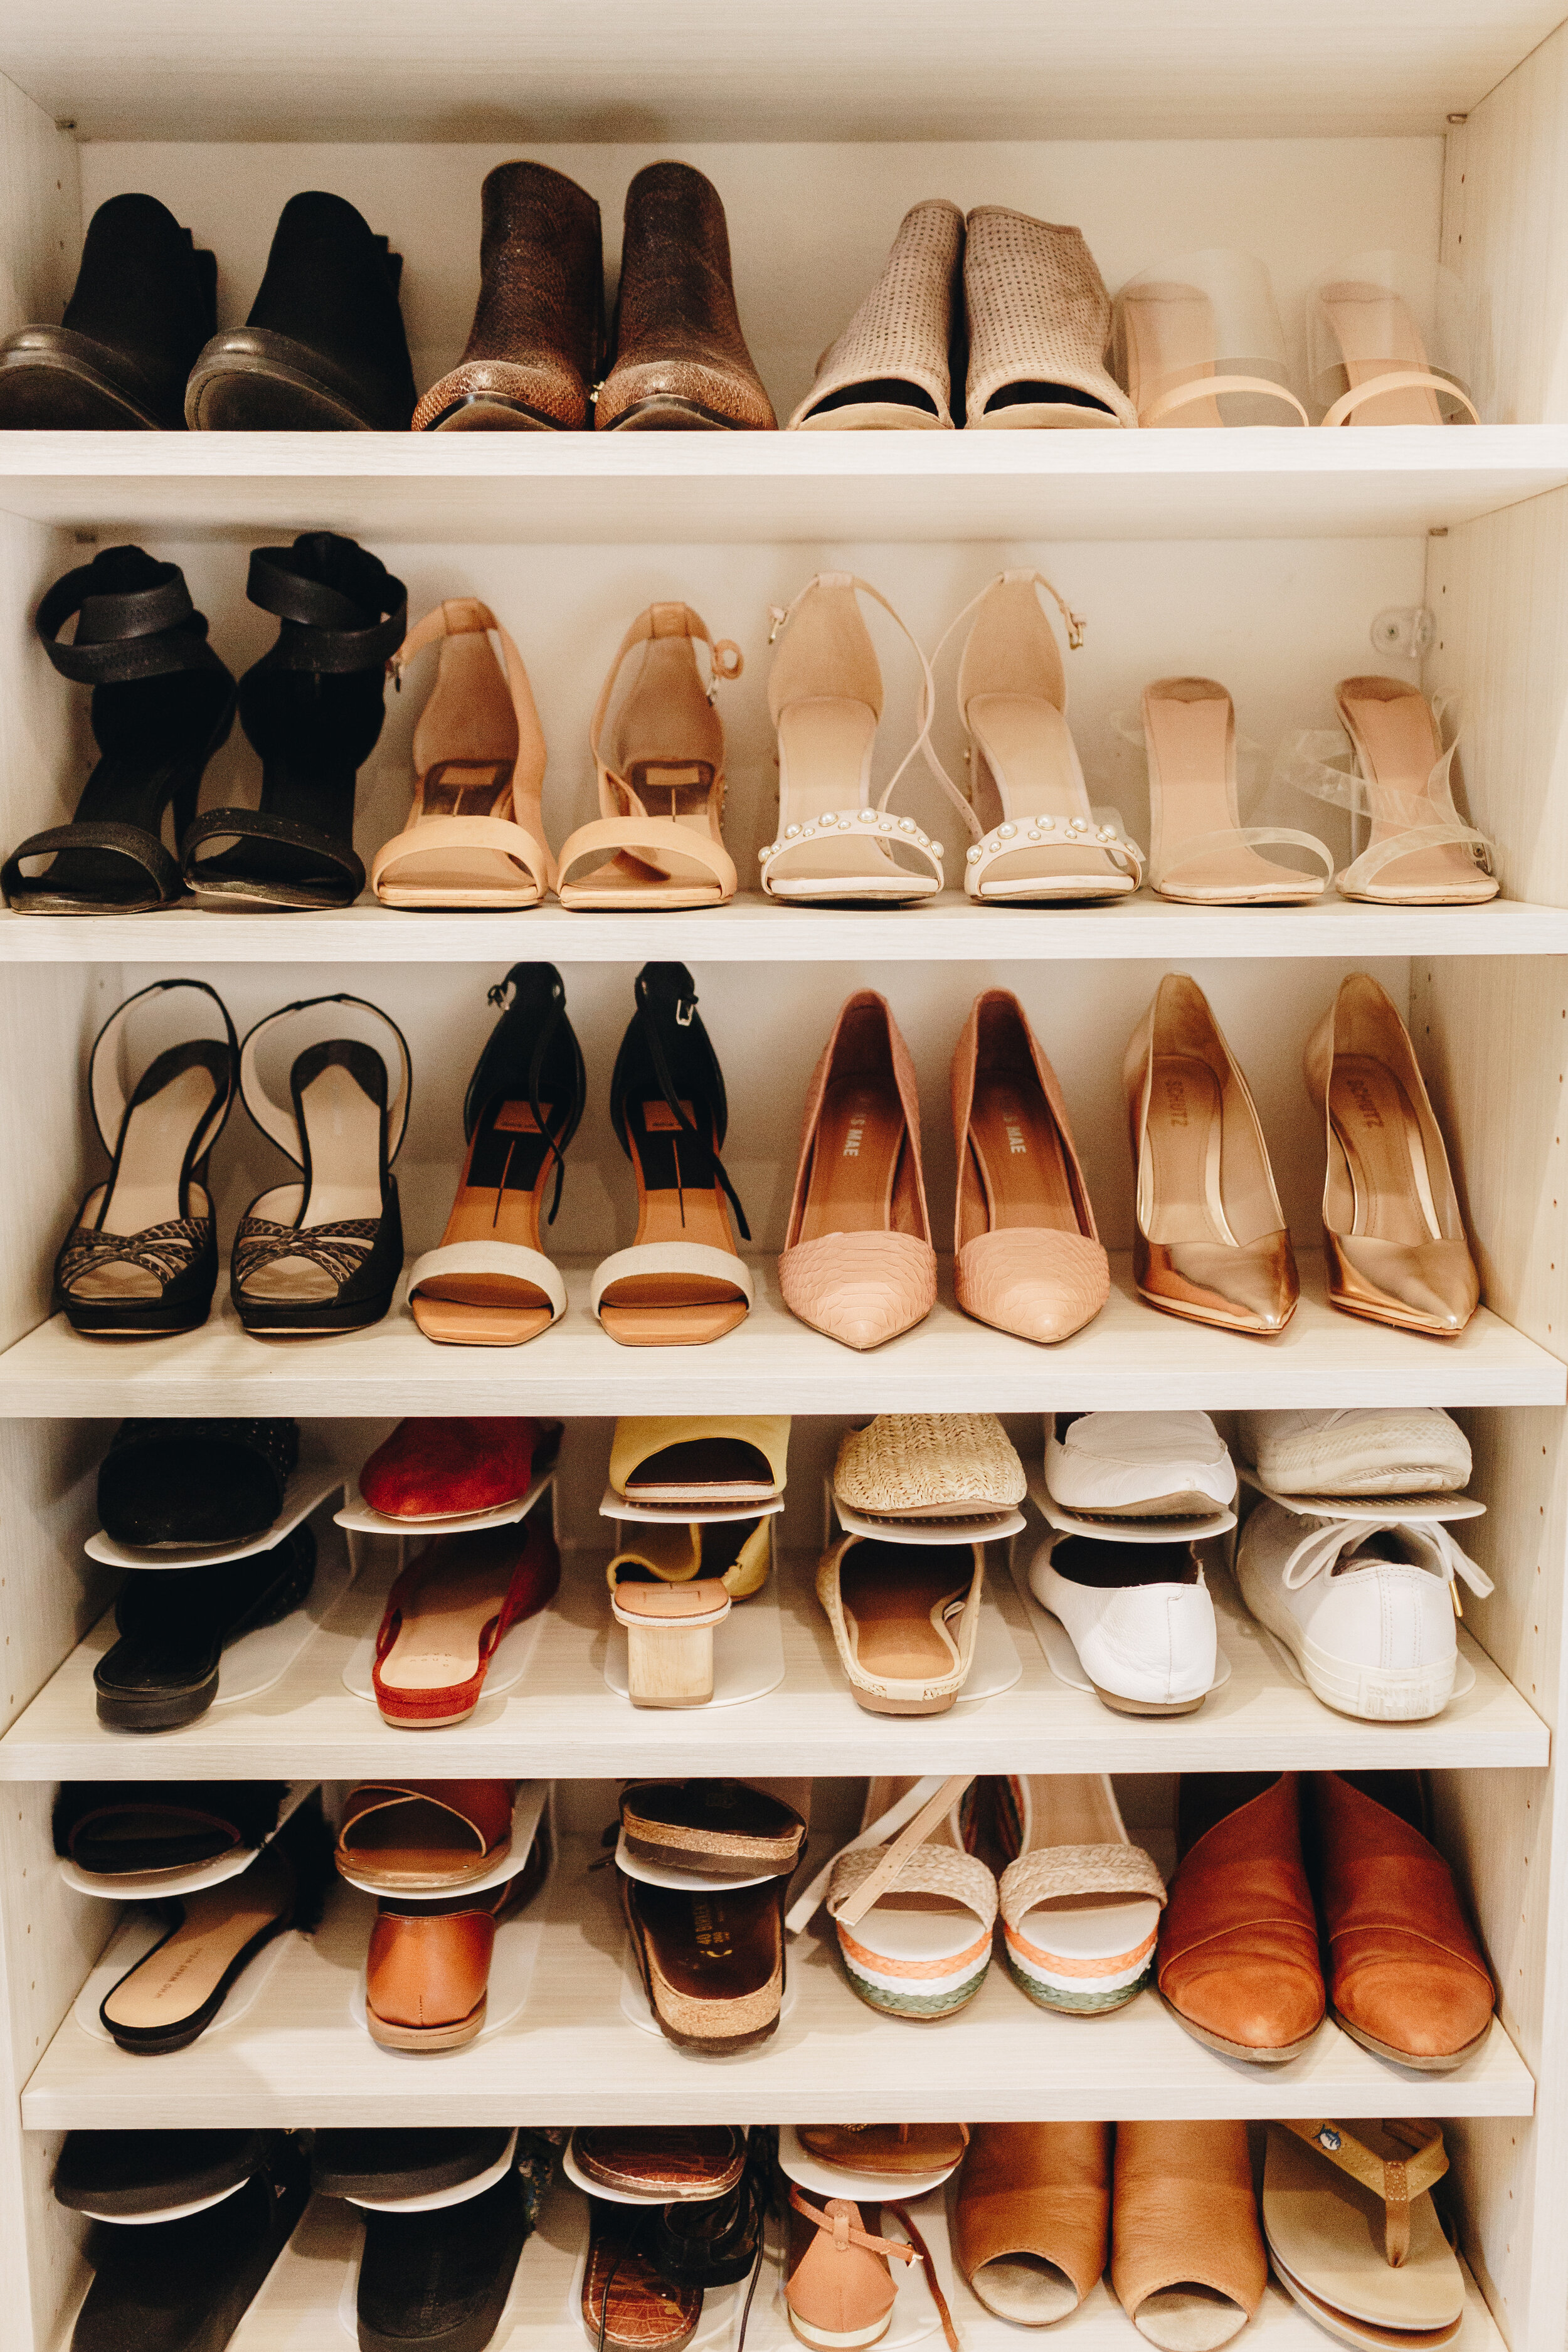
“Free the shoes!” was my motto. I used to store shoes in clear boxes, but I decided to get rid of some pairs I no longer wore and take the rest out and put them on display, so I could see what I actually had. Here’s the end result:
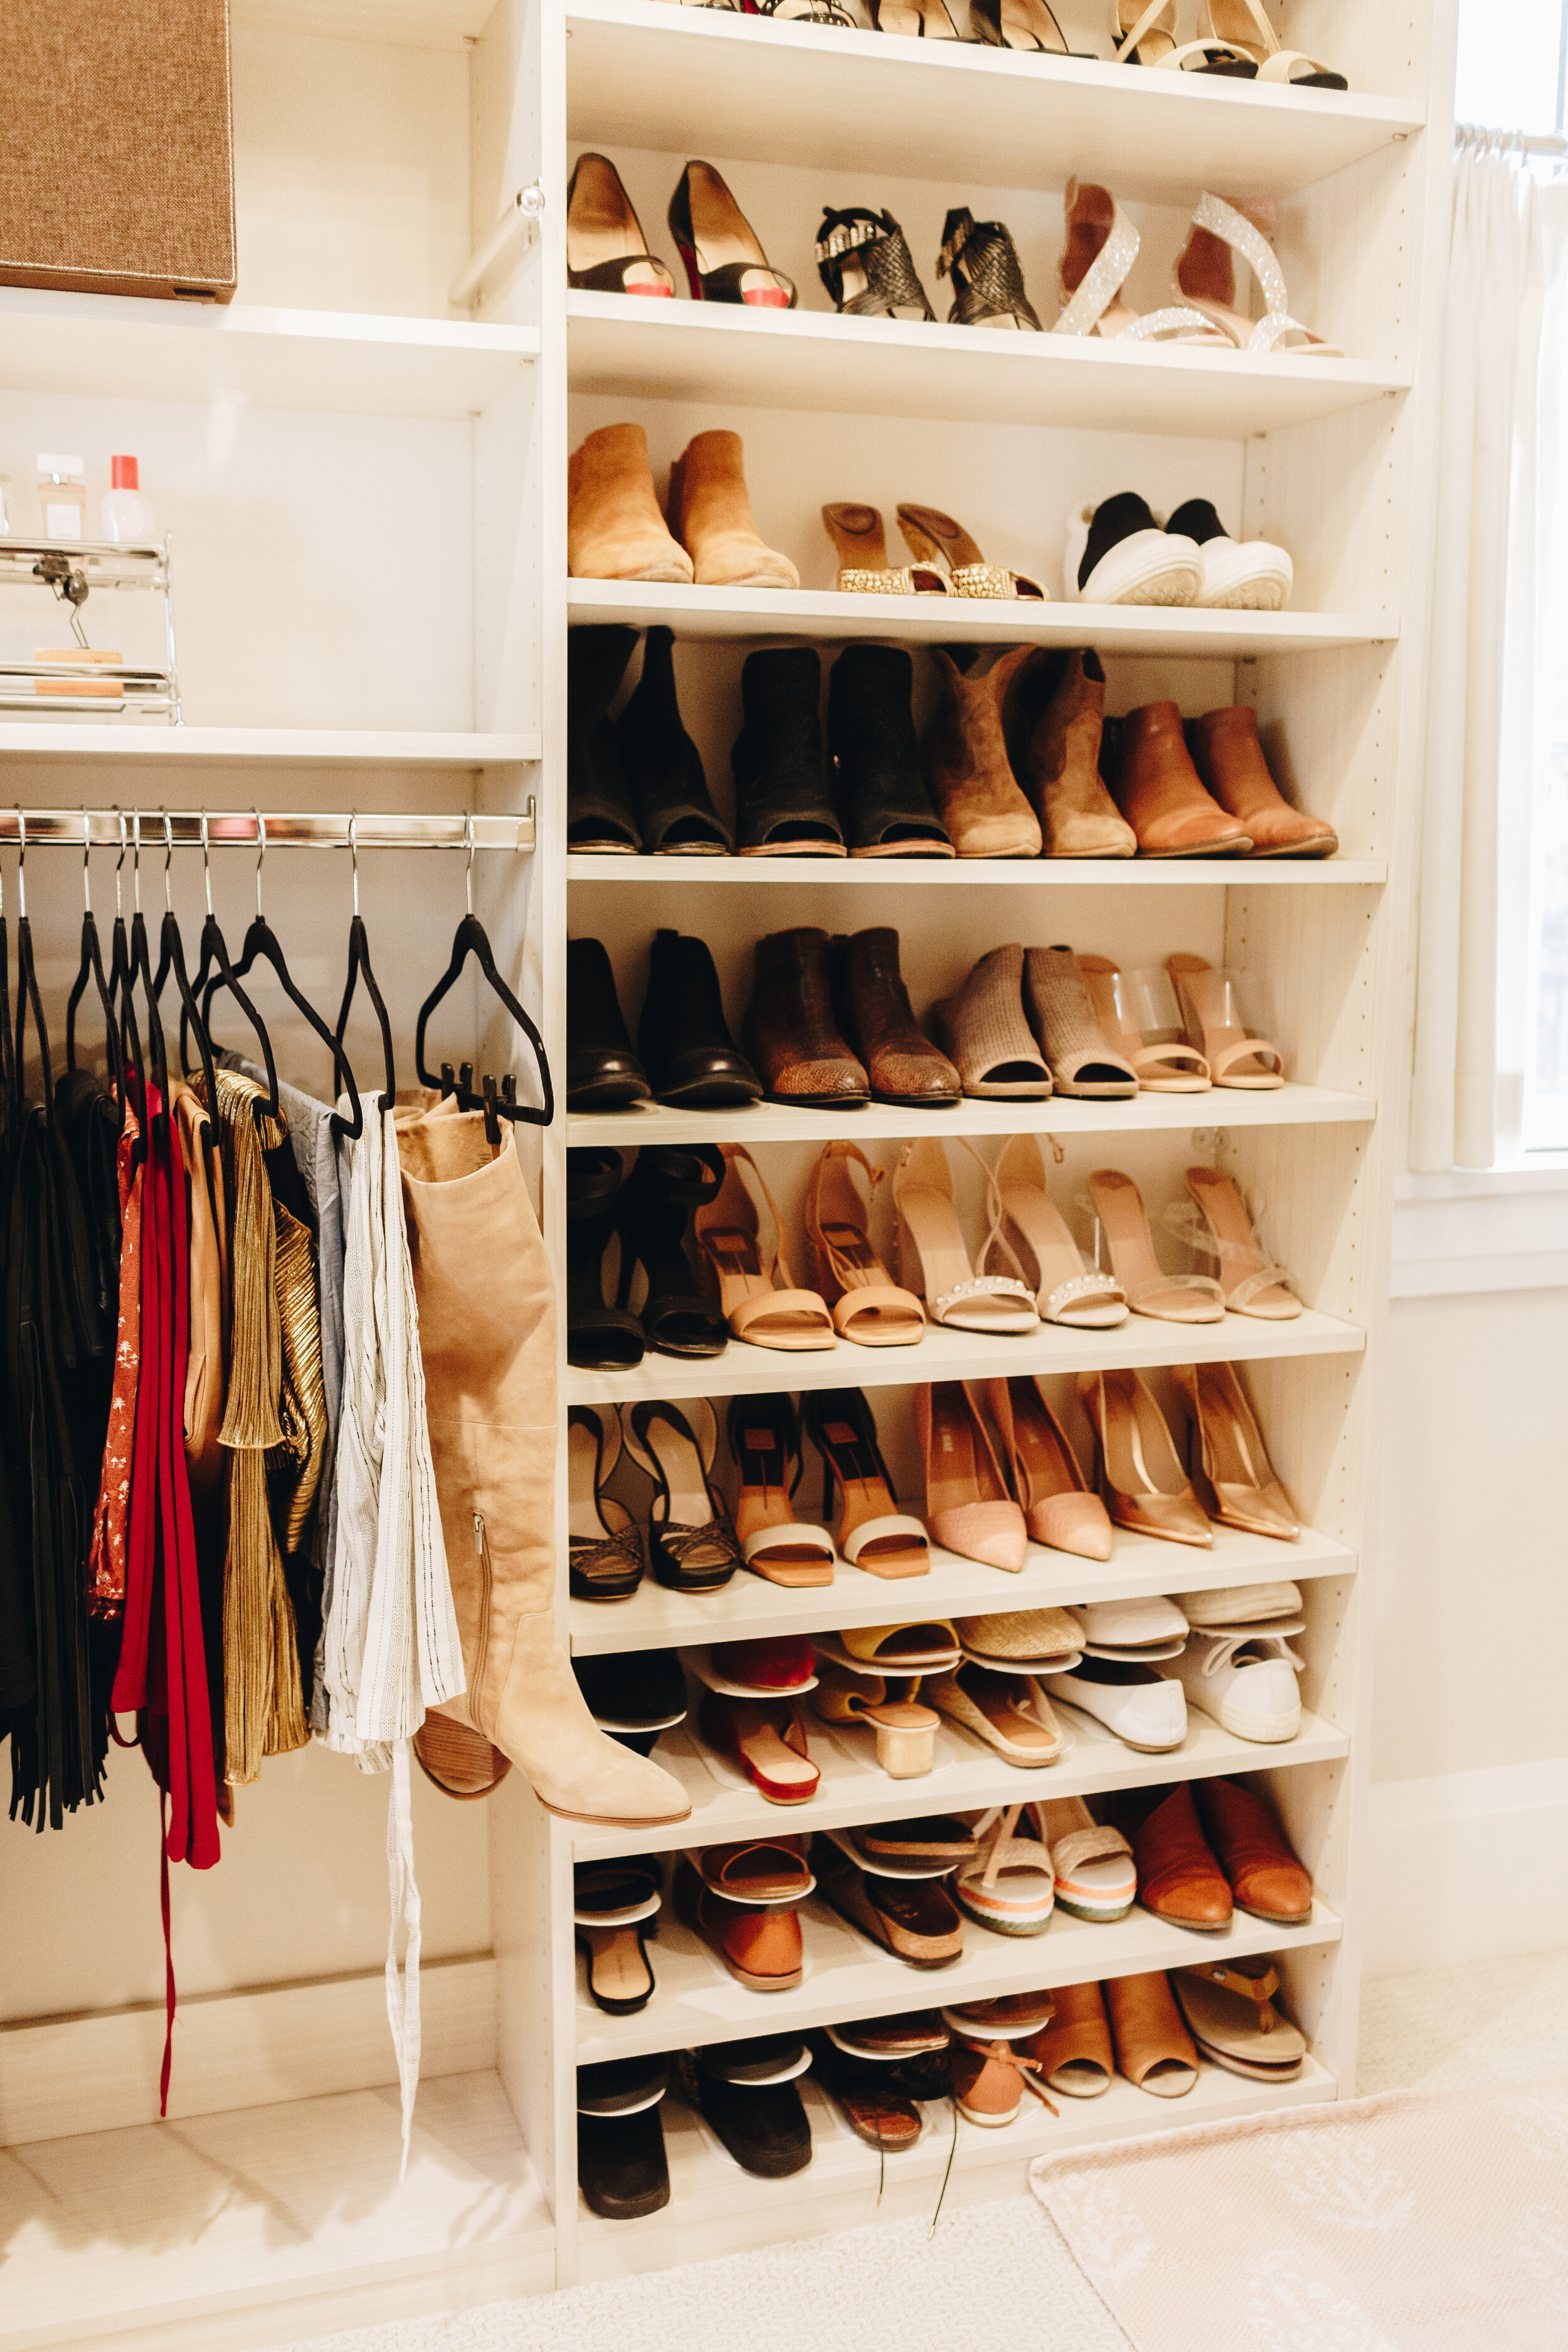
Hanging Clothes
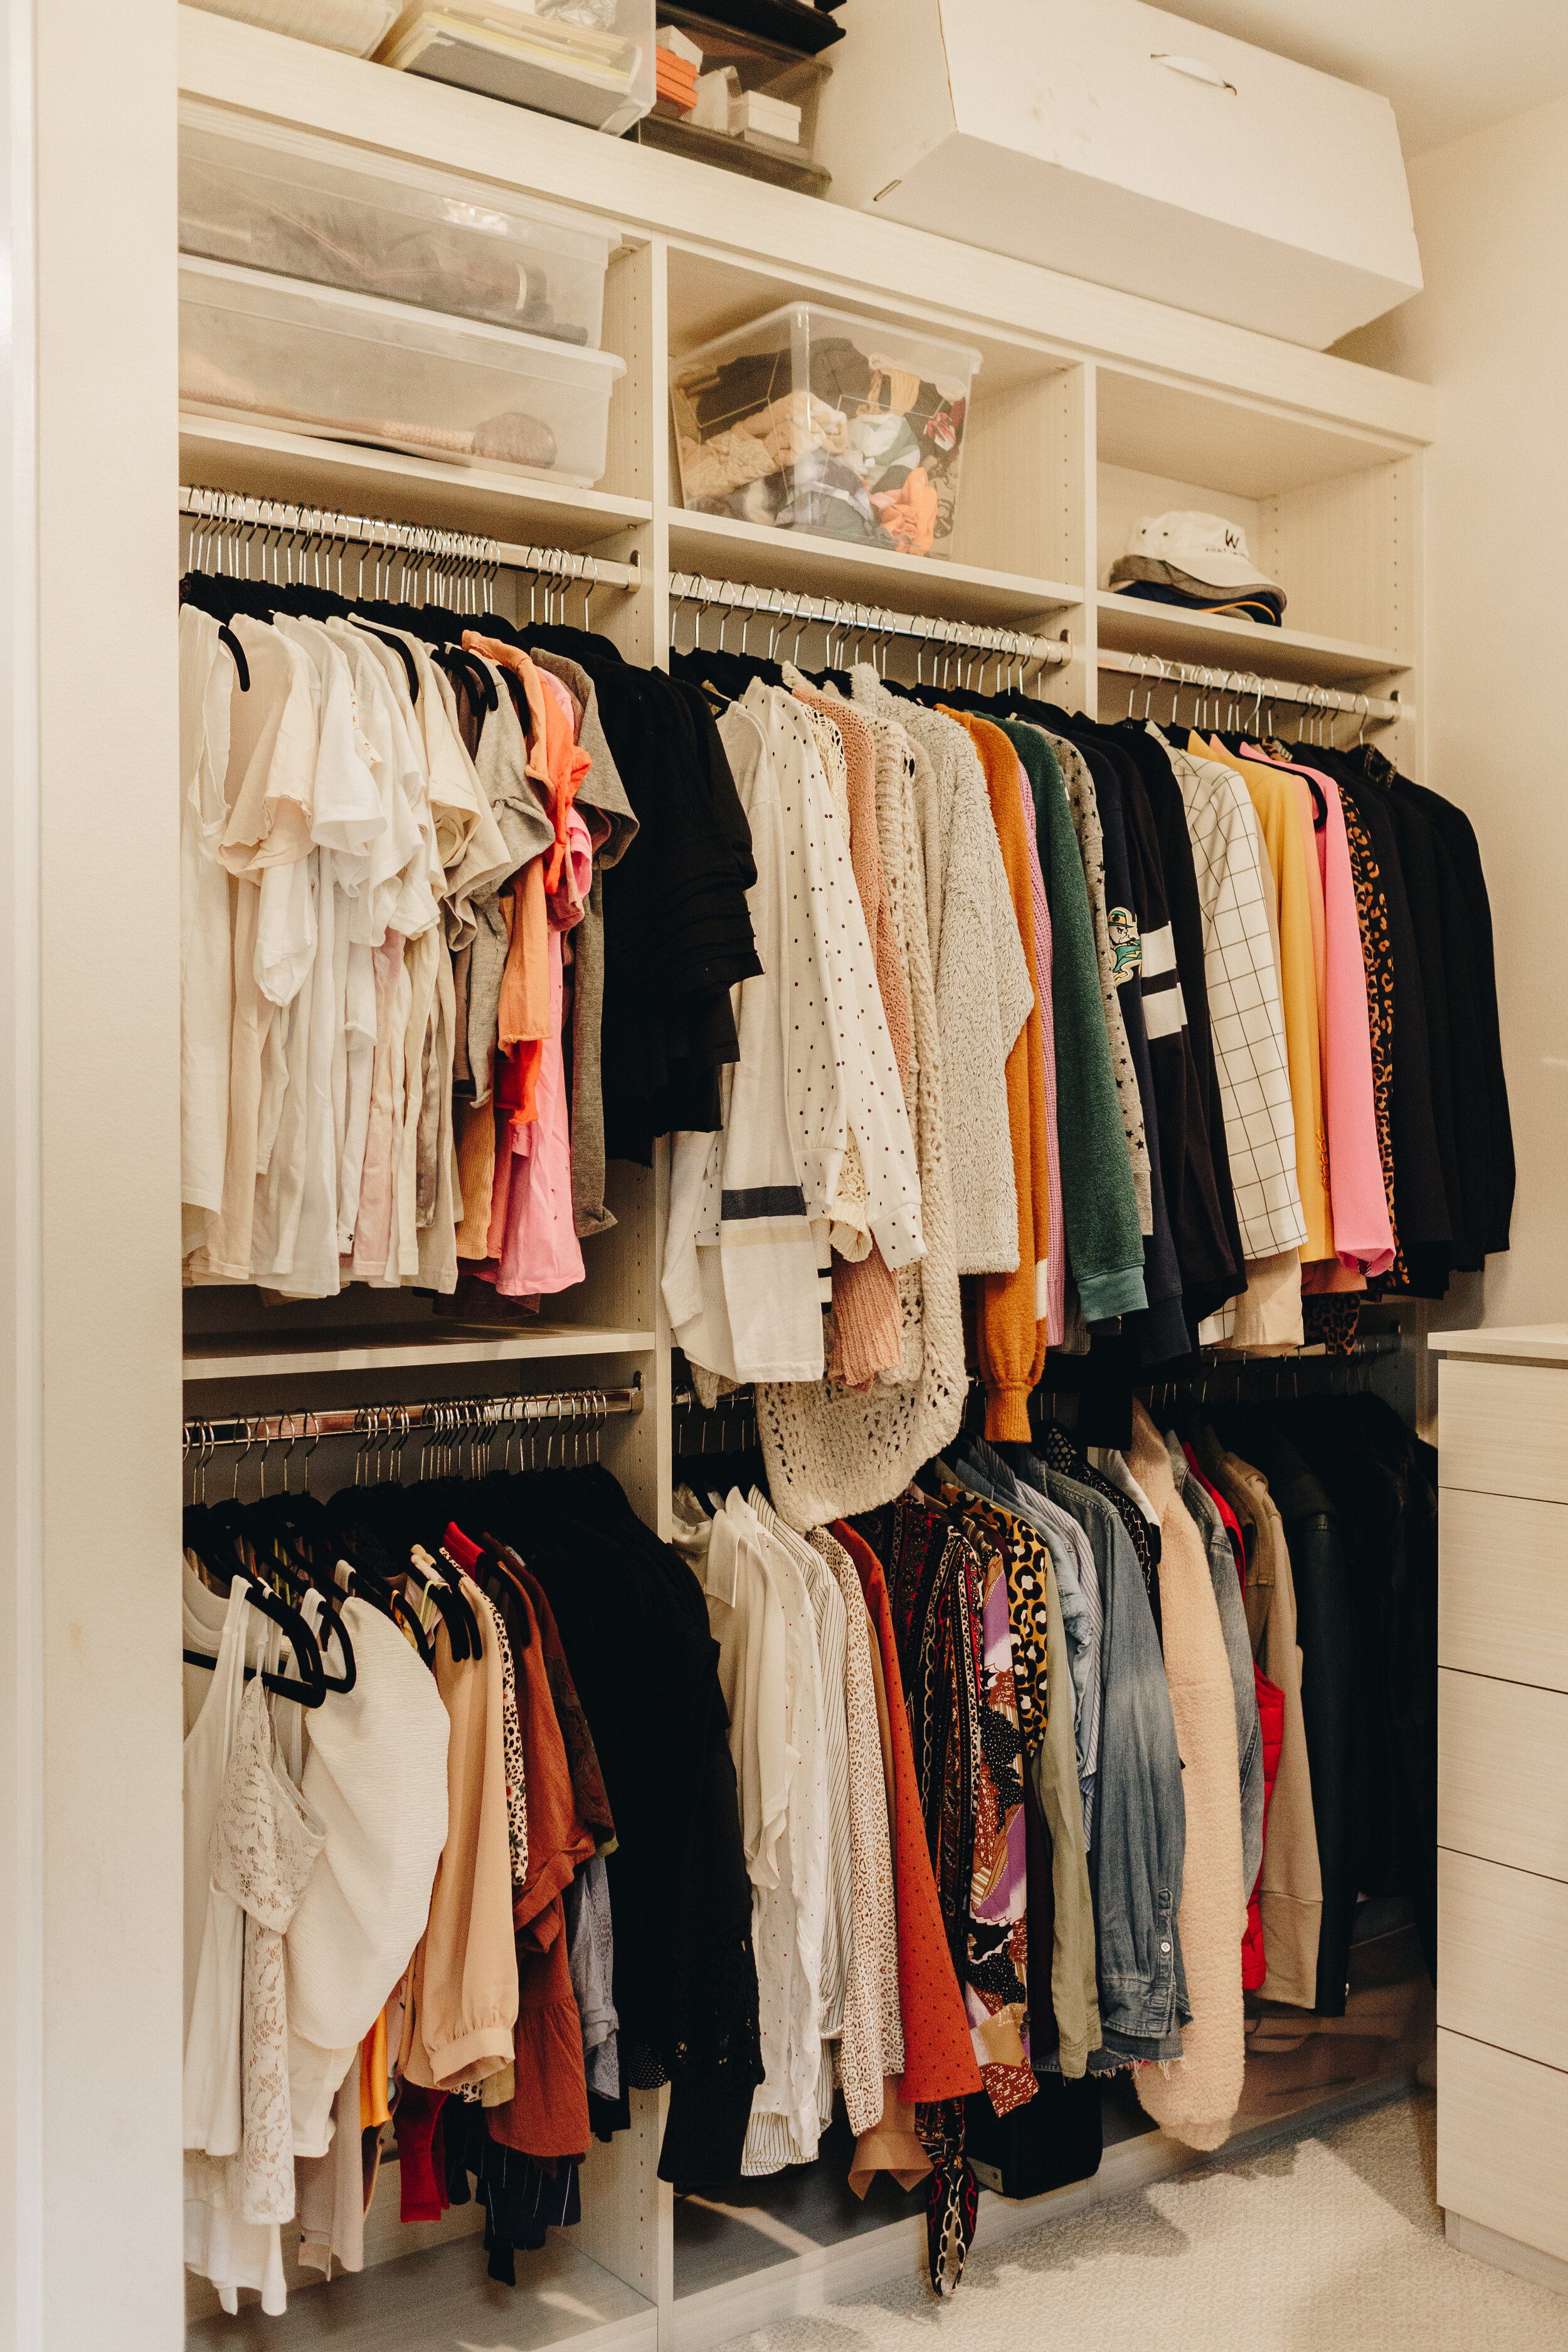
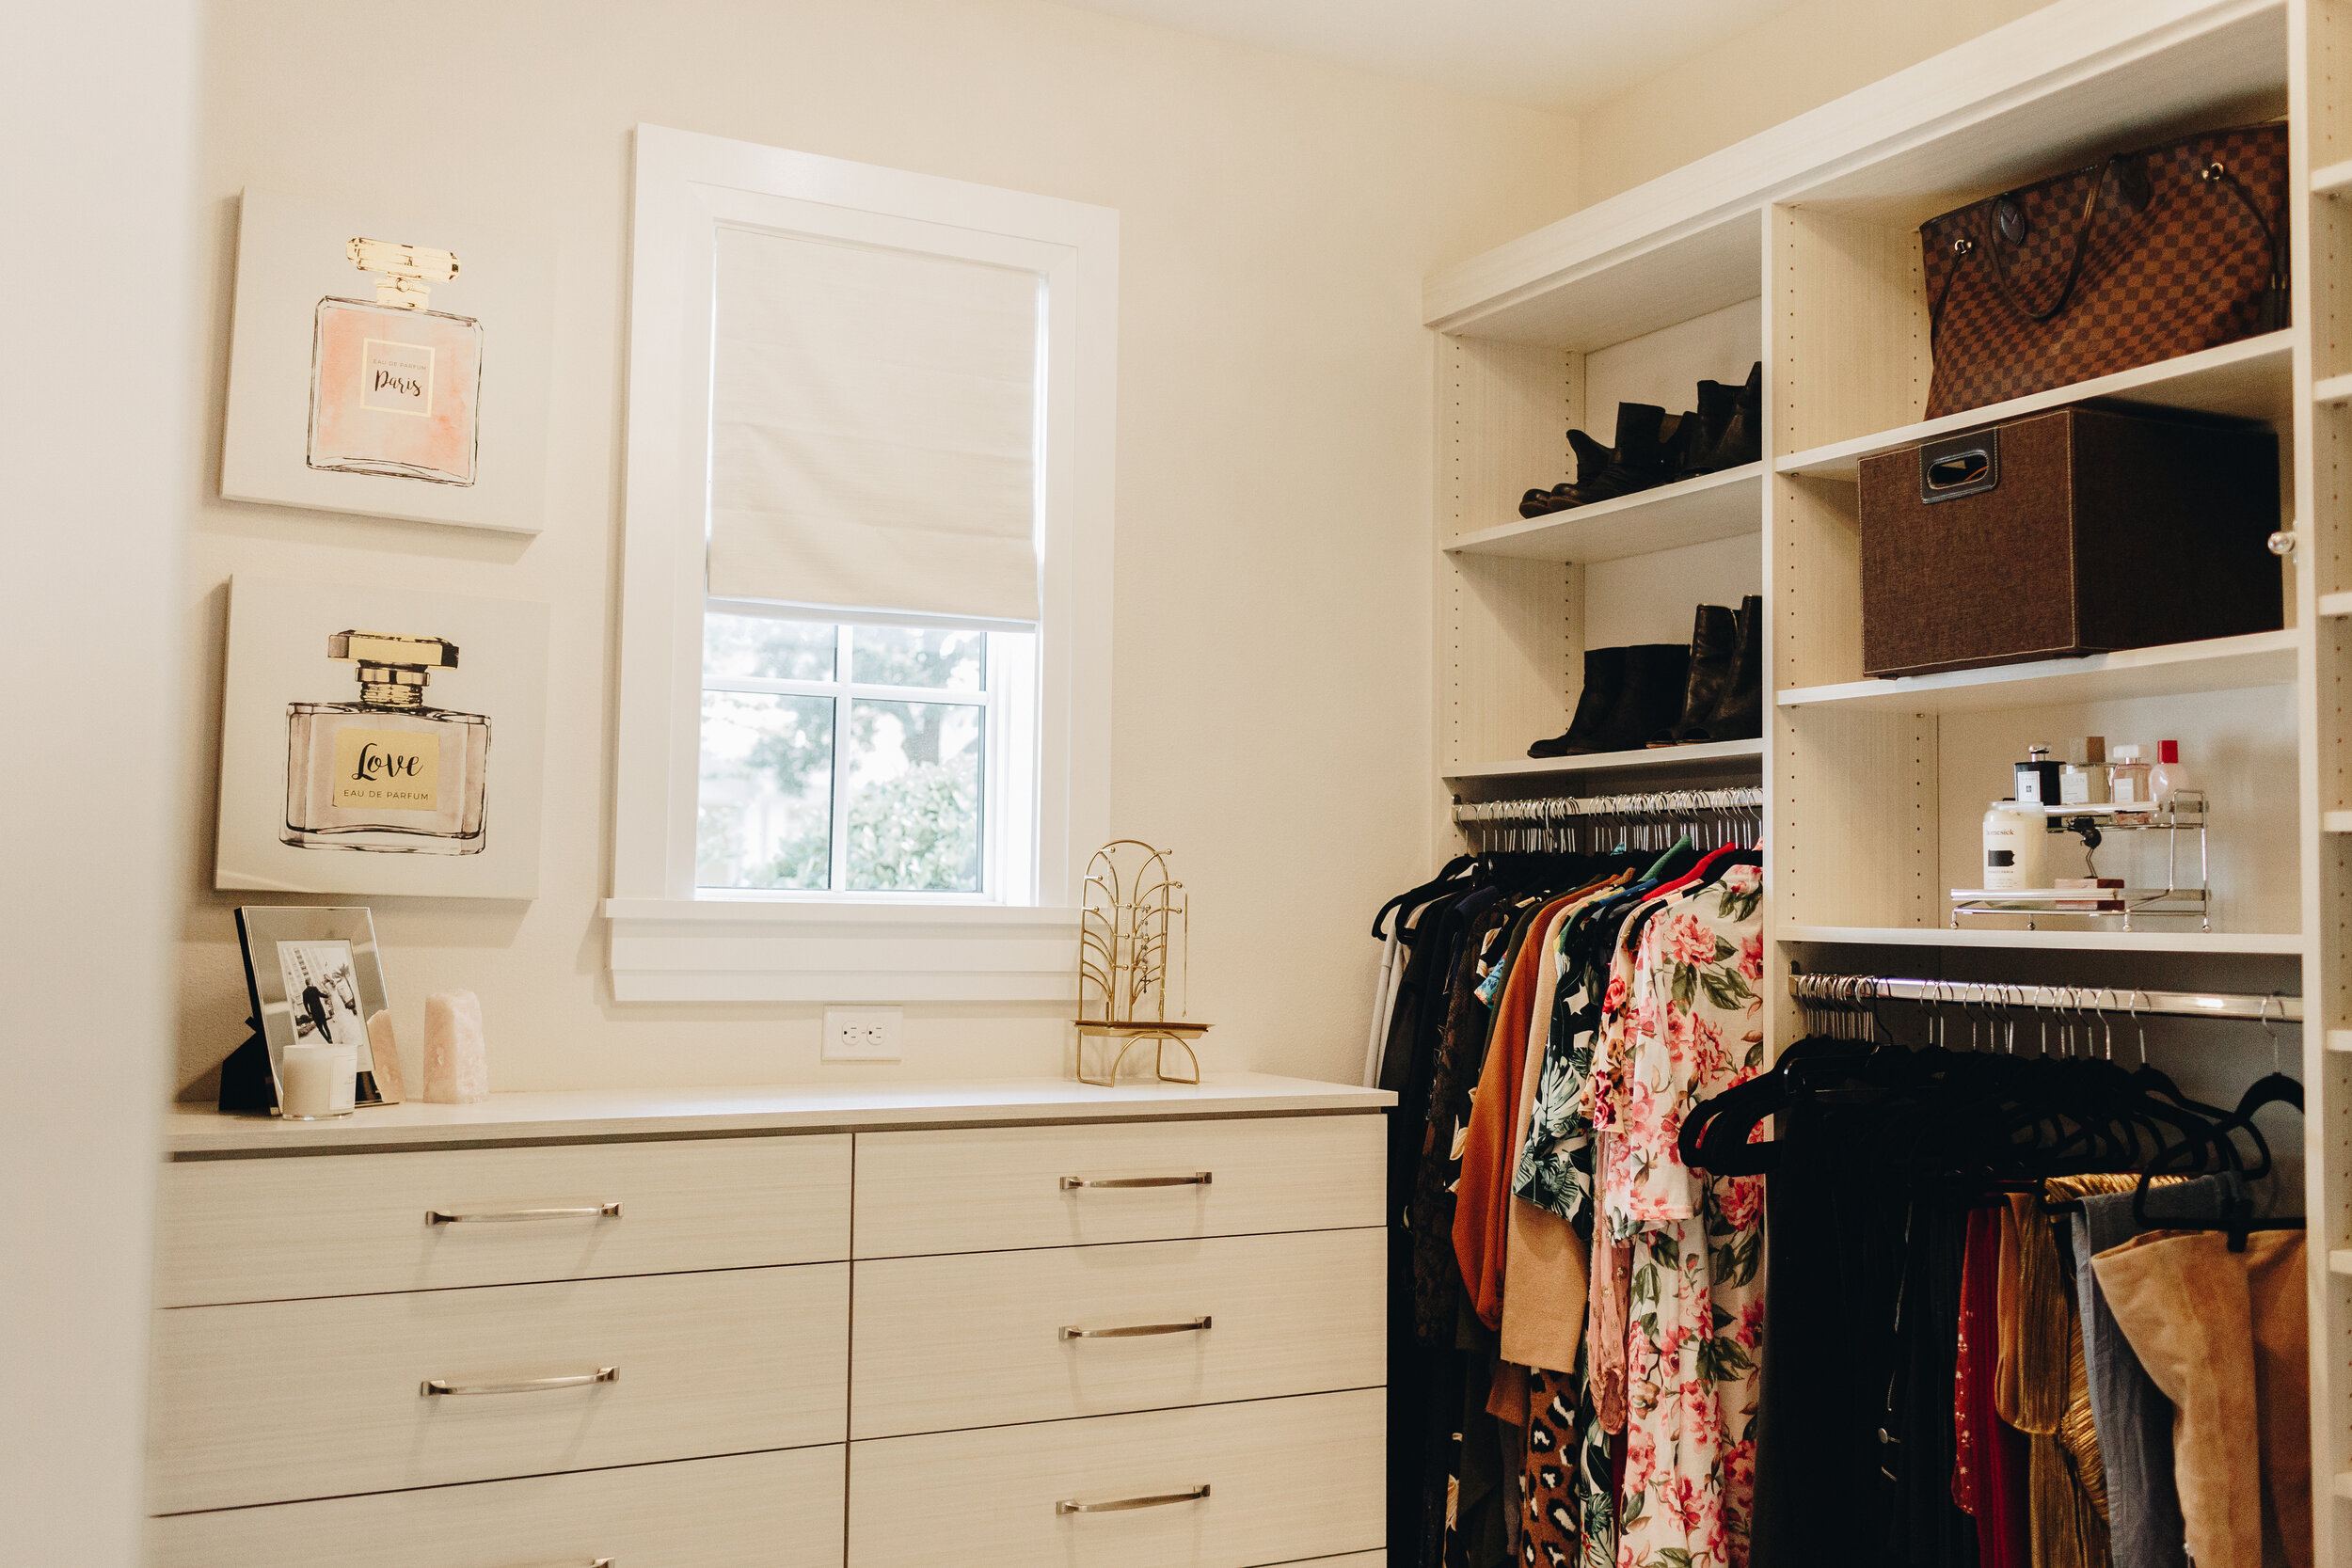
You can hear Tomoka explain the process herself in my IG Highlight, but we organized by putting the dark clothes toward the back, and the lighter clothes toward the front. The less-used items, like scarves and some boots, are still in boxes above. And what you see at the very top is storage items—that’s my wedding dress in the big white box!
Here’s what it looks like now:

Folded Clothes and Clothing in Drawers
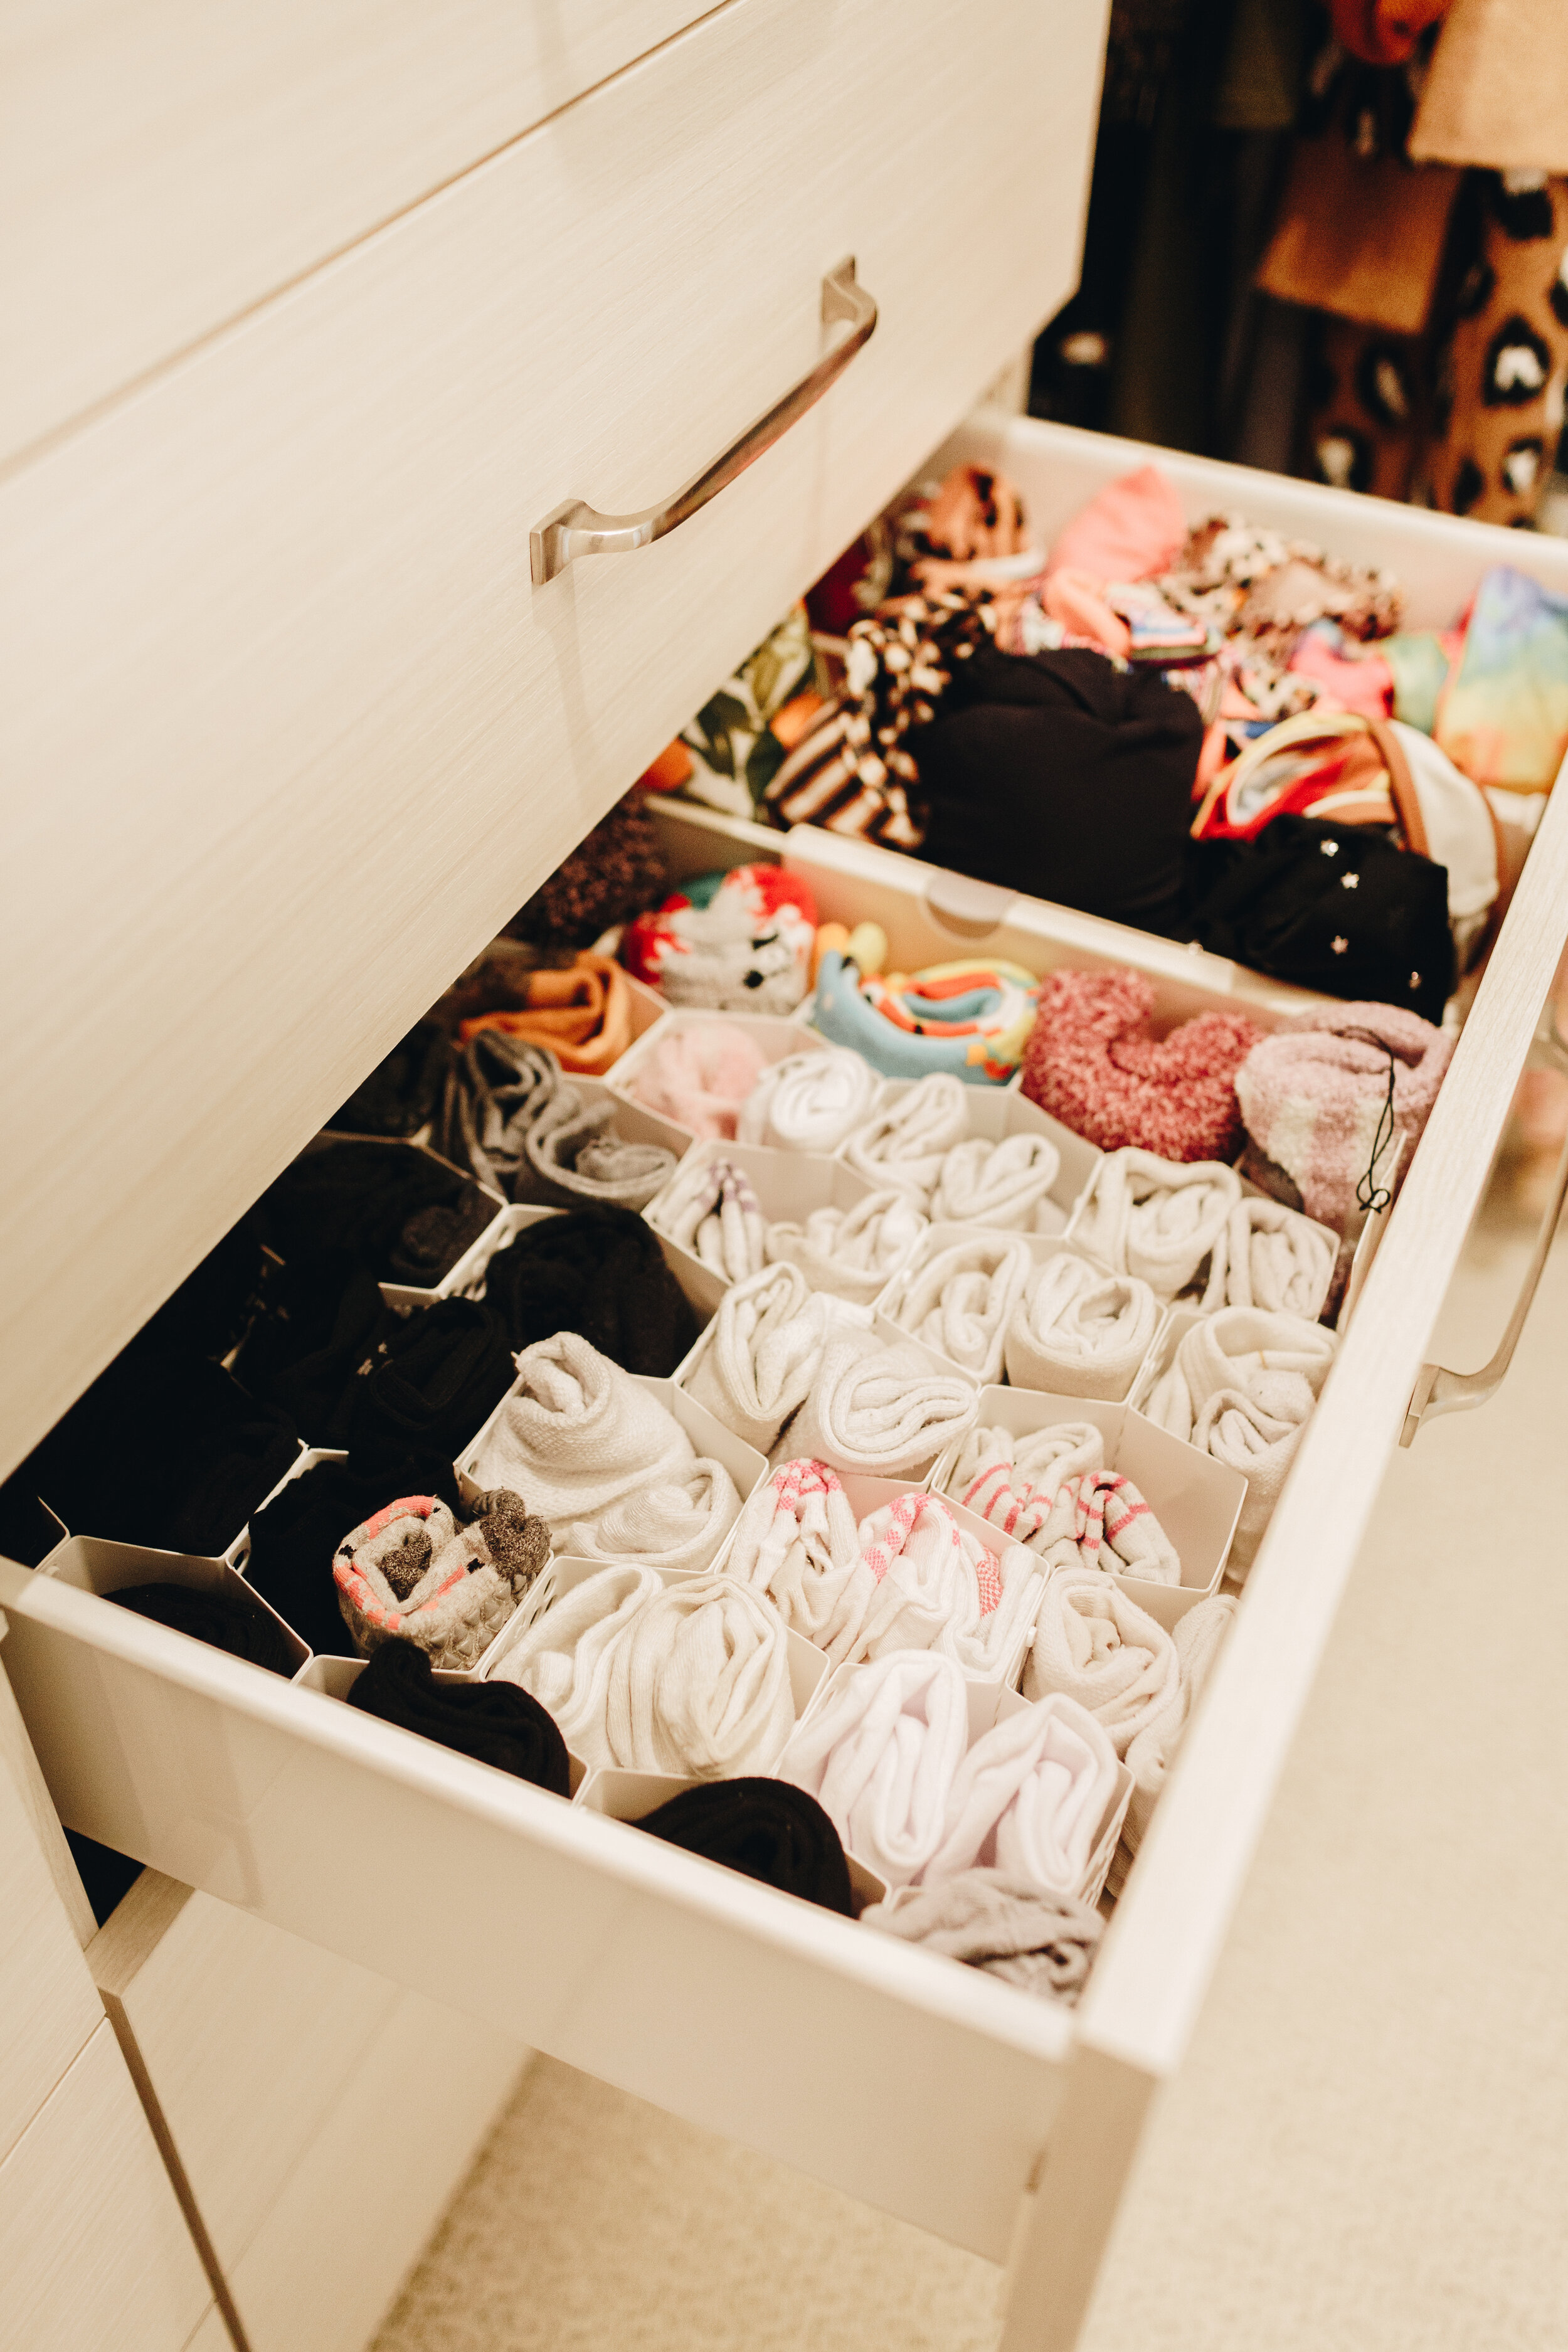
You have to check out the accessories I used to help organize my drawers here. Here are the final results!
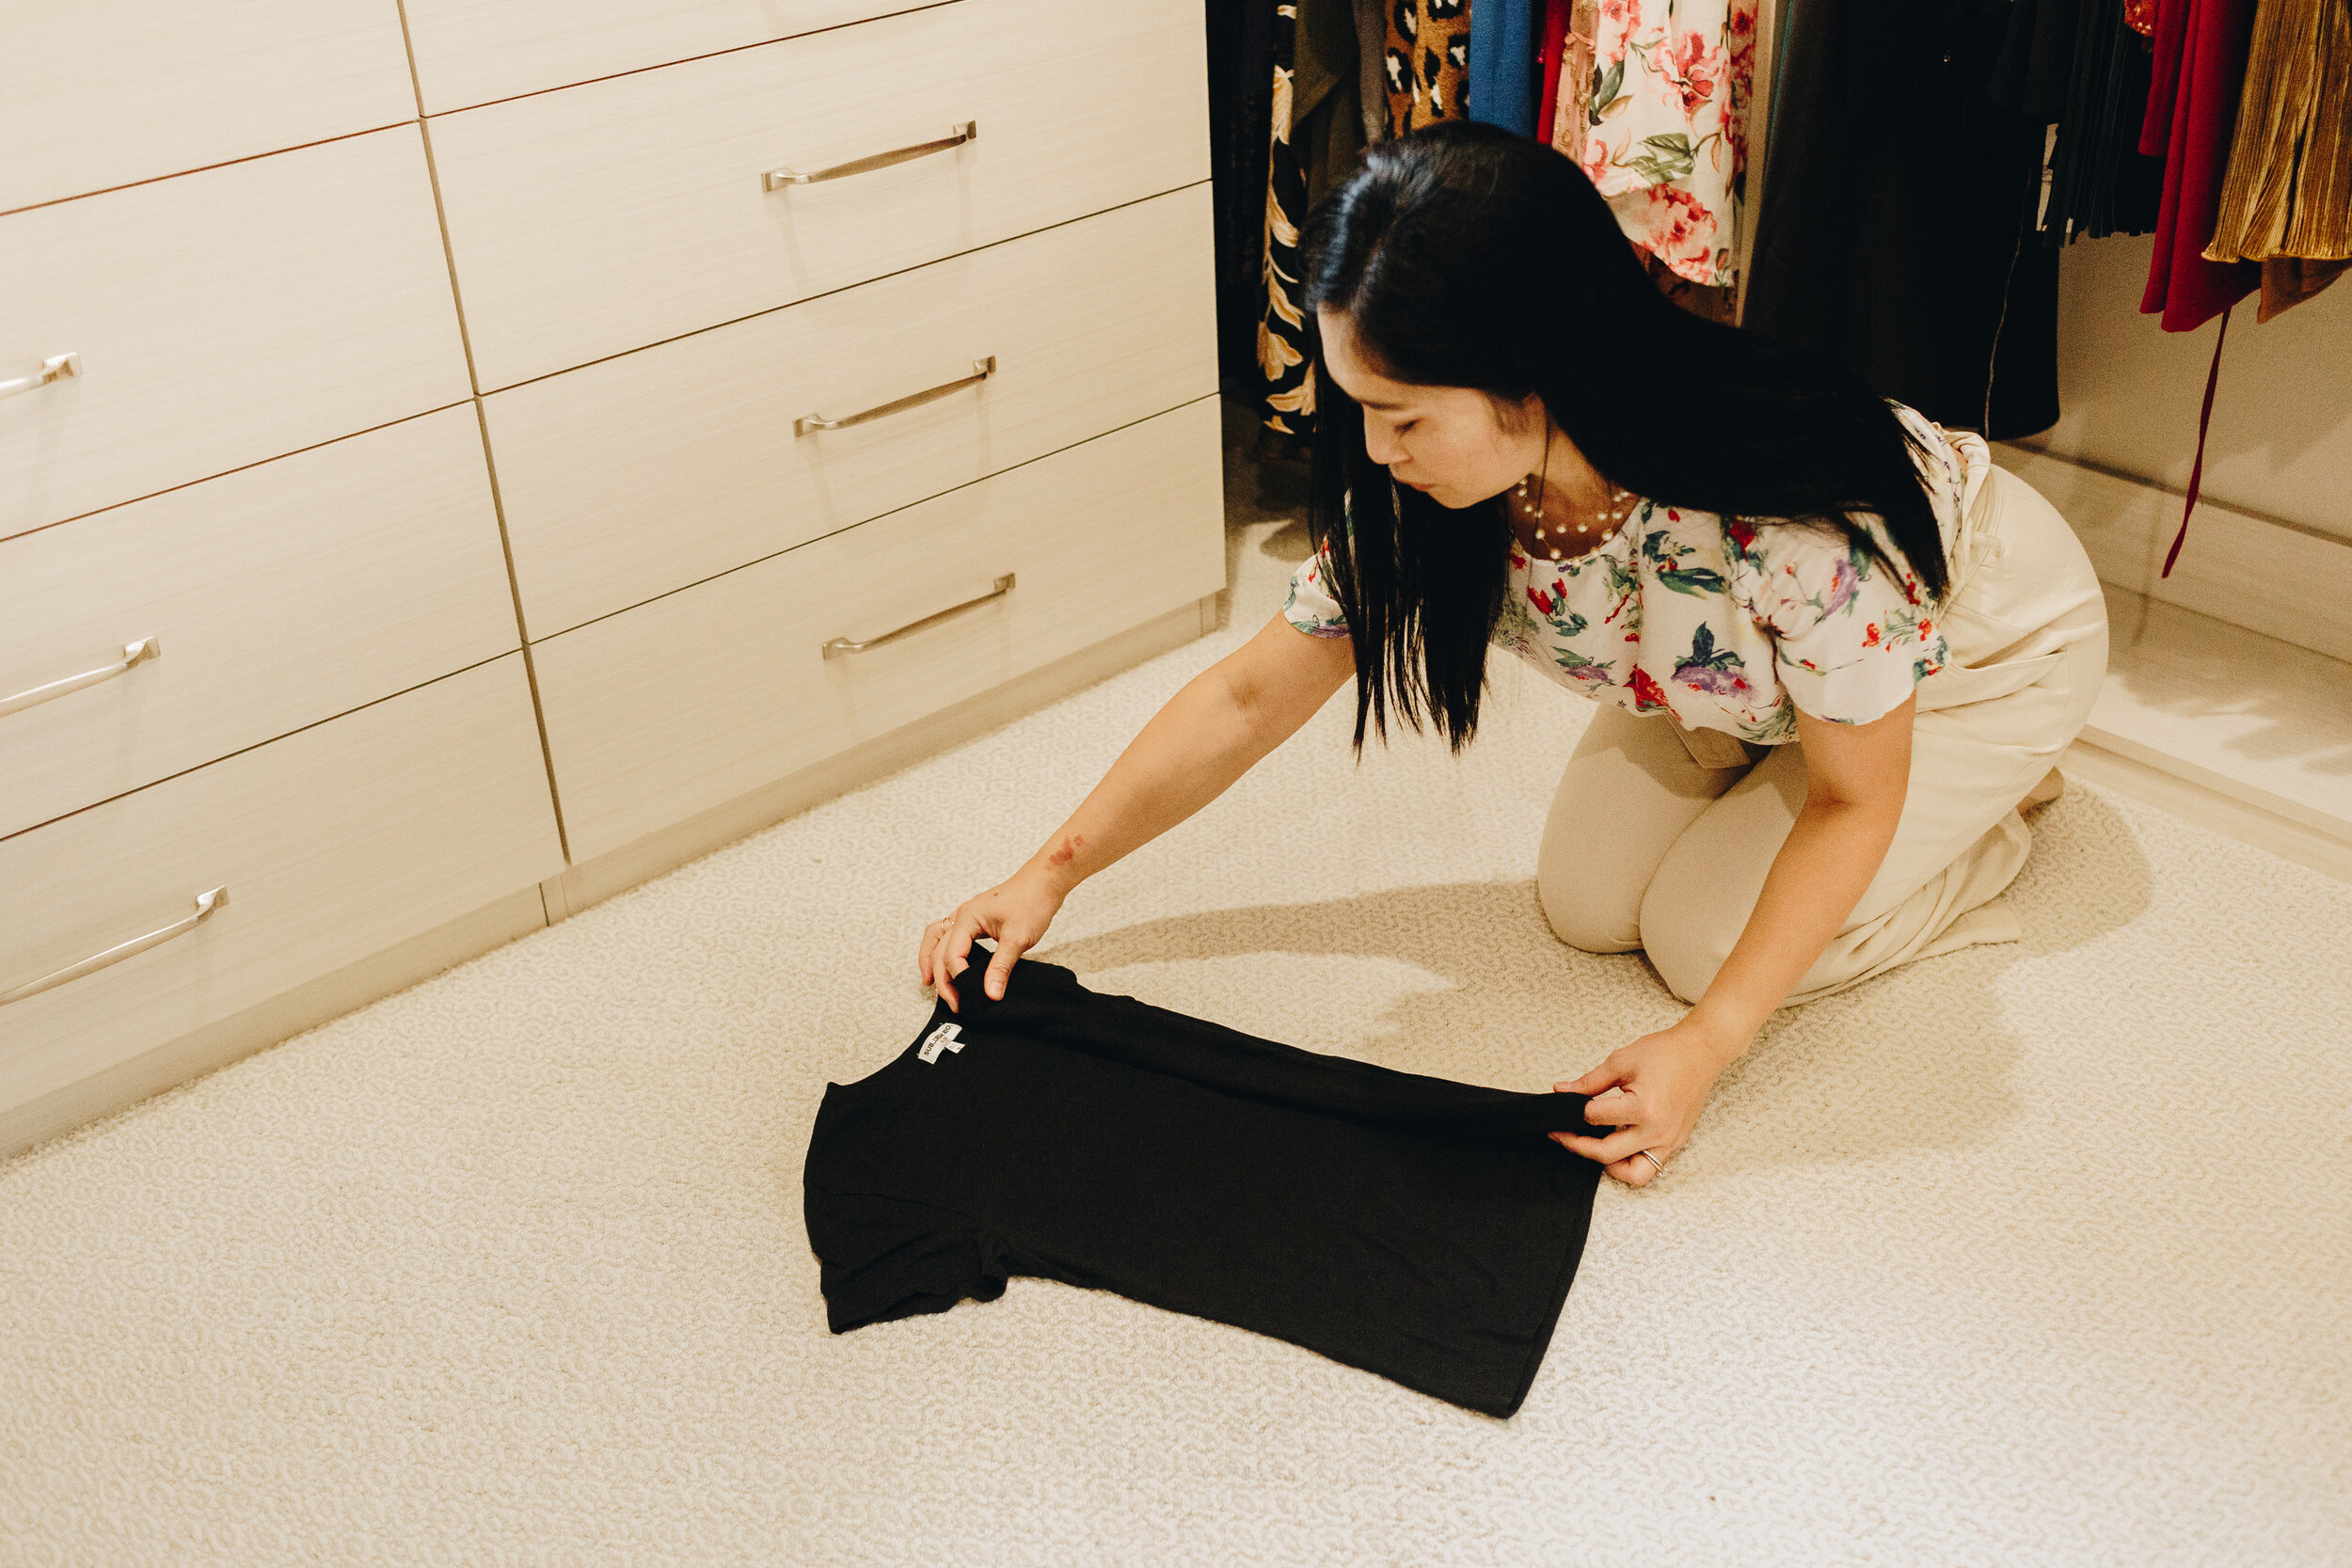
Same thing goes here as did with the hanging clothes: Darker clothing toward the back of the drawer, lighter toward the front. Socks are laid on top of each other and rolled (not nestled into each other); underwear are folded and “stood up”; t-shirts are rolled so that the front faces out; and pants are rolled too, with jeans pocket-out so I can see what pair is what.

So, what do we think?! I can’t recommend working with Tomoka highly enough if you’re in the Orlando area. You can check her out on Instagram here, and her website here.
I’ll also be sharing the photos and tips on how to organize your jewelry drawer or space in another post coming soon, so stay tuned for that!
Thanks so much for checking in, friends! Xo
© 2022 WGT Designed by leche studio
PRIVACY & TERMS
CONNECT
NAVIGATE
Home
Blog
Work With Me
More From Us
Want to be the first to get the latest updates and news?
About
Podcast
Contact